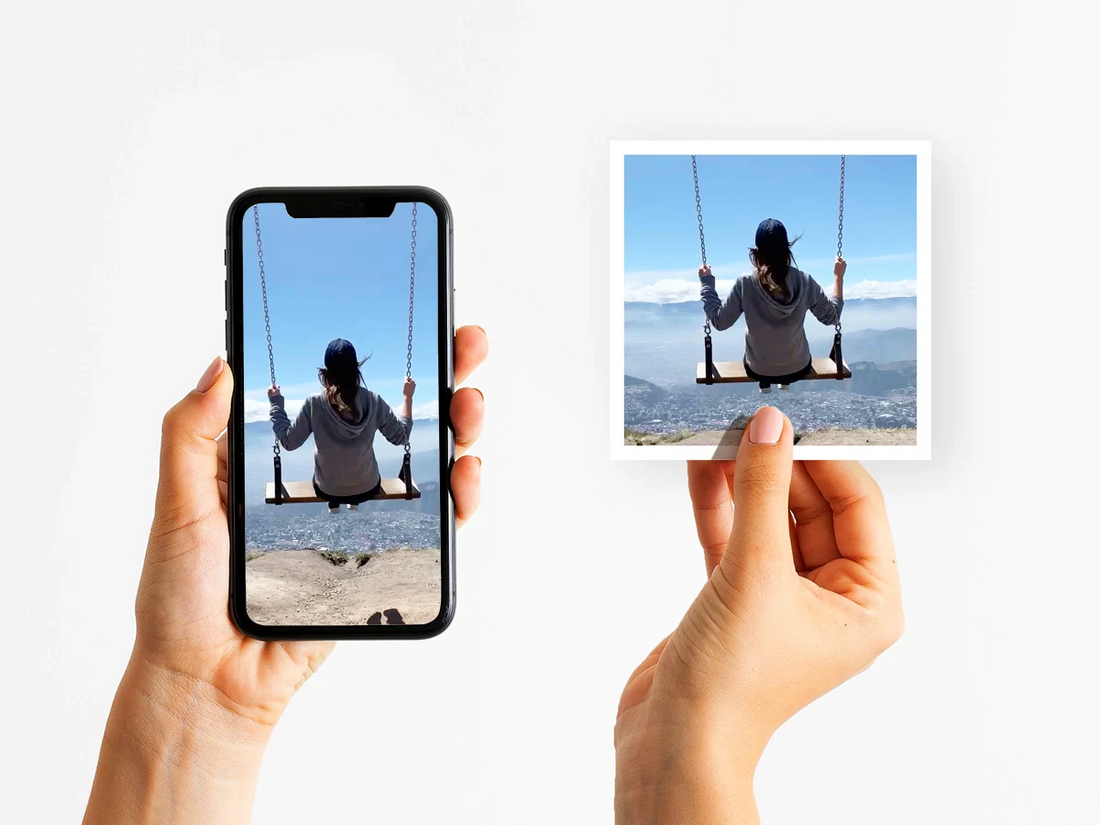
Step-by-Step Guide to Uploading Photos
1. Navigate to the Upload Page
- Make sure you’re on the correct page. Other then our Photo Prints - Large Batch Upload product, all of our products follow this uploading procedure. You can view all our products on our website here.

- Use the drop-down menu to select the size of the print you wish to purchase.

3. Quantity Selector
- Choose the number of prints you’d like for the photo you’re about to upload.

4. Select the Orientation
- Use the drop-down menu below the quality selector to choose the orientation of the photo

- Browse for your file or drag and drop it into the dashed box using our upload system.
- Use our cropping tool to adjust your photo to fit the selected print size. Once finished, press the 'Crop and Add to Cart' button.

- After pressing the button, your photo print will be added to your cart.

- Repeat the steps for any additional photos you want to print.
Need Assistance?
If you have any questions about uploading your photos, feel free to contact us:
- Email: info@fotobox.ca
- Phone: 647-430-8499
- If you wanted another method for uploading photos, you can also use our WeTransfer.
Happy uploading!

