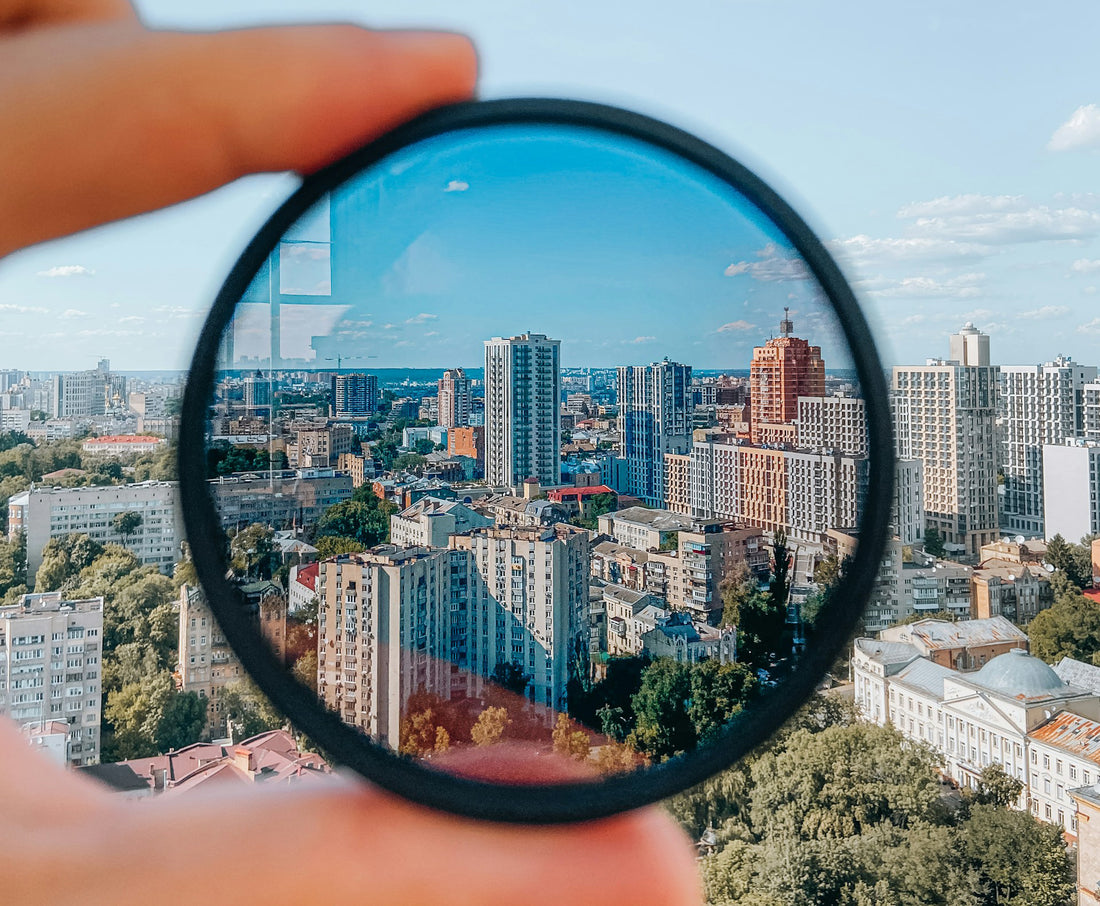
Photography is an art that often requires precise control over light to achieve the desired effects. One of the essential tools that photographers use to manage light is the Neutral Density (ND) filter. In this blog post, we'll explore what ND filters are, how they work, and why they can be a game-changer for your photography.
Are you ready to bring your photos into reality? Print your masterpiece with Fotobox now! 📷
What is an ND Filter?
A Neutral Density (ND) filter is a piece of glass or resin that is placed in front of the camera lens to reduce the amount of light entering the lens without affecting the color of the image. This reduction in light allows photographers to use wider apertures or slower shutter speeds in bright conditions, giving them more creative control over exposure and depth of field.
Types of ND Filters
- Fixed ND Filters: These have a single, consistent density. They are simple to use but require multiple filters if you need different levels of light reduction.
- Variable ND Filters: These allow you to adjust the level of light reduction by rotating the filter. They are versatile but can sometimes introduce unwanted artifacts or vignetting at extreme settings.
- Graduated ND Filters: These have a gradual transition from dark to clear, allowing you to balance exposure in scenes with a significant difference in brightness between the sky and the ground, for example.
ND filters work by limiting the amount of light that reaches your camera’s sensor. This can be particularly useful in situations such as:
Bright daylight conditions: When you want to shoot with a wide aperture for a shallow depth of field, but the light is too strong.
Long exposure photography: When you want to achieve motion blur effects in water, clouds, or other moving elements.
Video shooting: To maintain a specific shutter speed and frame rate combination, ND filters help avoid overexposure in bright light.
Benefits of Using ND Filters
- Creative Control: ND filters allow for long exposure times, enabling the creation of smooth, dreamy water effects, streaked clouds, and other motion blur effects that can transform a scene.
- Depth of Field Management: In bright conditions, ND filters enable the use of wide apertures to achieve a shallow depth of field, isolating subjects with beautiful bokeh.
- Better Exposure Balance: Graduated ND filters help balance the exposure between bright skies and darker foregrounds, reducing the need for HDR processing.
- Improved Video Quality: ND filters help videographers maintain a cinematic look by allowing slower shutter speeds, even in bright light.
Tips for Using ND Filters
- Start with a Moderate ND Filter: If you’re new to ND filters, a 3-stop or 6-stop ND filter is a good starting point. It provides noticeable light reduction without being too extreme.
- Use a Tripod: For long exposure photography, stability is key. A tripod will prevent camera shake and ensure sharp images.
- Compose Before Attaching the Filter: ND filters, especially strong ones, can make it hard to see through the viewfinder. Compose your shot first, then attach the filter.
- Adjust Exposure Settings: Remember to adjust your shutter speed, aperture, and ISO settings to account for the reduced light.
- Check for Vignetting: Some wide-angle lenses can introduce vignetting when using ND filters. Check your shots and make adjustments as needed.
ND filters are a powerful tool in a photographer’s kit, offering creative possibilities that are otherwise difficult to achieve. Whether you're looking to capture the silky smooth flow of a waterfall, the motion blur of city traffic, or simply control your depth of field in bright conditions, ND filters can help you take your photography to the next level. Experiment with different types and strengths of ND filters to find what works best for your style and needs. By understanding and utilizing ND filters, you can unlock new dimensions in your photography, transforming ordinary scenes into extraordinary images.

